Skip to content


If you’re thinking about starting a DIY cluster lash journey or creating your own cluster lash kit to sell under your brand’s name, you’ve come to the right place. Whether you’re a beauty enthusiast or an entrepreneur looking to build a lash line, understanding the essential products in a DIY cluster lash kit is crucial. Let’s break down the must-haves that will help you achieve a professional-quality lash look, every time.
A complete DIY Cluster lash kit typically includes lashes, lash bond, sealer, remover, and applicators. These core products will ensure that your lashes last for days, are easy to apply, and provide a natural look. In this article, we’ll explore these products in detail, so you know exactly what’s needed for flawless lashes.
The Key Components of a DIY Cluster Lash Kit
Creating your own DIY cluster lash kit involves more than just purchasing lashes. To make sure your kit delivers quality, it’s essential to include several key products. Here are the five main components every DIY lash kit should have:
1. Clustrer Lashes
Lashes are the star of the show in any DIY lash kit. The type, length, and volume of lashes will determine the final look you achieve. DIY lashes come in various styles, from natural to dramatic, and can be customized based on the desired effect.
- Length Variety: A good lash kit will include different lengths for versatility. For example, 10mm, 12mm, and 14mm lashes allow you to create different looks. For a cat-eye style, you might use 10mm lashes on the inner corner, 12mm in the middle, and 14mm on the outer corners. For a round-eye look, you can use a uniform length throughout the entire lash line.
- Clusters: Lash kits typically feature cluster lashes, where individual lashes are grouped together. These provide more volume and are easier to apply compared to single lashes, making them perfect for DIY application.
- Longevity: A box containing 30 clusters of lashes should last more than a month, especially if you use the lashes sparingly. This ensures that your kit is both cost-effective and long-lasting.
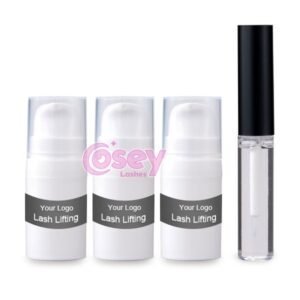
2. Bond (Lash Glue)
The bond is one of the most important elements of a DIY lash kit. A high-quality lash bond ensures that your false lashes stay put for days, saving you time and hassle by eliminating the need for daily reapplications.
- Waterproof & Long-lasting: Choose a bond that is waterproof and can hold your lashes in place for 3-5 days or even up to a week. This is particularly useful for people who don’t want to worry about their lashes falling off after a day or two.
- Brush Head Design: The bond should come with a well-designed brush head to ensure a smooth and uniform application of the glue. This prevents clumps and ensures that each cluster sticks perfectly to your natural lashes.
- Shelf Life: Once opened, a good bond should last around six months, so make sure to keep track of the expiration date to maintain quality.
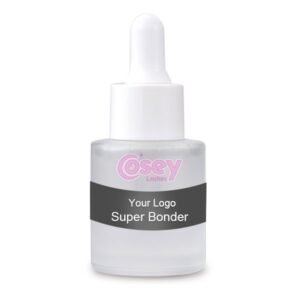
3. Sealer
To lock in your DIY lash look and make it last longer, a sealer is a must. The sealer works by adding an extra layer of protection, ensuring the bond doesn’t break down quickly.
- Enhance Natural Look: After the glue has dried, brushing on a sealer helps your lashes blend seamlessly with your natural lashes, making the application appear more natural.
- Longevity: The sealer also helps extend the life of the bond, preventing it from breaking down too soon. Without a sealer, the bond might wear off faster, leading to quicker lash fallouts.
- Sponge Ball Applicator: Many sealers come with a sponge ball applicator that helps apply the product gently at the root of the lashes, ensuring thorough coverage.
4. Remover
Once you’re ready to take your DIY lashes off, you’ll need a remover that works effectively to dissolve the bond without damaging your natural lashes.
- Specialty Formula: DIY lash removers are specifically formulated for the stronger adhesives used in DIY kits. Regular lash glue removers won’t work as effectively because the DIY bond is designed to last longer and hold stronger.
- Spiral Brush Applicator: Many lash removers come with a spiral brush applicator that lets you apply the remover directly to the lashes, similar to how you’d use mascara. This allows the remover to penetrate the bond and break it down for easy lash removal.
- Application Process: After applying the remover, wait for about a minute, then gently brush your lashes a few more times. The lashes will begin to lift off, making removal quick and easy without damaging your natural lashes.
5. Lash Applicator
An applicator is the final tool that makes your DIY lash application process smoother and more precise. It helps you apply the lash clusters accurately, ensuring they’re placed close to the root of your natural lashes for a more seamless look.
- Precise Application: The applicator ensures that the lashes are positioned correctly without any mess. If your applicator becomes sticky after use, simply apply some sealer to it to restore its functionality.
- Easy Handling: A good applicator will allow you to pick up and place individual lash clusters with ease, making the entire application process faster and more efficient.
How to Assemble Your Own DIY Lash Kit
For lash brand owners looking to create their own branded lash kit, it’s important to focus on the quality and versatility of each product. Here’s a quick guide to assembling your own kit:
- Choose a Variety of Lashes: Include different lengths and styles to cater to various customer preferences. Offer both natural and dramatic looks to appeal to a wide audience.
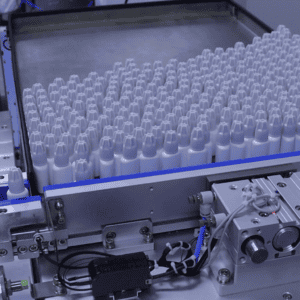
- Select High-Quality Bond and Sealer: Partner with trusted manufacturers for premium bonds and sealers that ensure longevity and a smooth, comfortable application.
- Add a Professional Remover: Make sure your remover is effective yet gentle, ensuring easy removal without harming natural lashes.
- Include a Precision Applicator: An applicator will help users achieve a flawless, professional look every time.
- Packaging: Invest in durable, branded packaging that not only protects the products but also enhances the user experience. Customers are more likely to purchase kits that look professional and high-quality.
Conclusion
A well-rounded DIY lash kit can be a game-changer, both for personal use and as a product to sell under your brand. By including the right essentials—lashes, bond, sealer, remover, and applicators—you can create a kit that provides flawless, long-lasting results for your customers.
Whether you’re building your own lash line or looking to enhance your DIY lash application, remember that quality is key. Choose the right products, and you’ll be on your way to creating perfect lashes every time.